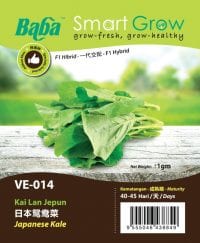
Sowing Tips: VE-014 F1 Japanese Kale
Seed Sowing Guide:
Seedling
Prepare Baba seedling soil and seedling pots. Fill up the seedling pots with Baba seedling soil, use finger gently make a small hole, put in 2-3 seeds and cover with a thin layer of soil.
During seedling stage, put under shaded area and make sure water thoroughly when needed. When there is sprout, then move it to area with direct sunlight.
♥♥ Extra Tip: Before put in seed into soil or before transplant, you could water the seedling mix or potting mix first. This is to ensure the potting mix get enough moist and prevent plants get dehydrated later.
Transplant
When the seedling with 3-4 leaves (around 10-14 days after germination), the seedling is ready to transplant.
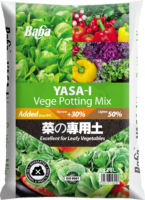
- Ready a suitable size pot, the minimum depth of the planting container is 120mm. Such as Baba Yasa-I tray, Baba 528 Planter box, or Baba 509 Planter box.
- Fill up the planting pot with Baba Yasa-I Soil, and make holes to prepare for transplant. Each holes maintain 100-120mm (or a palm size) distance.
- Take out the seedling from seedling pots, and put into the hole. Press gently on surrounding soil, to make the seedling stay firm. Keep one seedling in one hole for better harvest.
Fertilizing
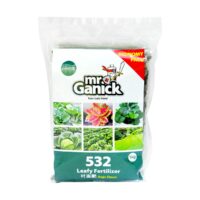
Put Mr. Ganick 532 Organic Leafy Fertilizer on 7th days after transplant. After that, repeat fertilizing on every week.
Draw a line between vegetables, or dig a small hole beside vegetables, and put in Mr. Ganick 532 Leafy organic leafy fertilizer, cover the fertilizer with a thin layer of soil.
Water after done fertilizing.
Watering
Moist is important for Japanese Kale. Make sure soil always enough moist and water it when needed.
Water thoroughly on every morning is recommended.
Harvest Tips
Japanese Kale is ready to harvest after 40-45 days from transplanting date.
When harvesting, you could direct pull out the whole Japanese Kale or direct cut the stem.


